Reading time: 5 minutes
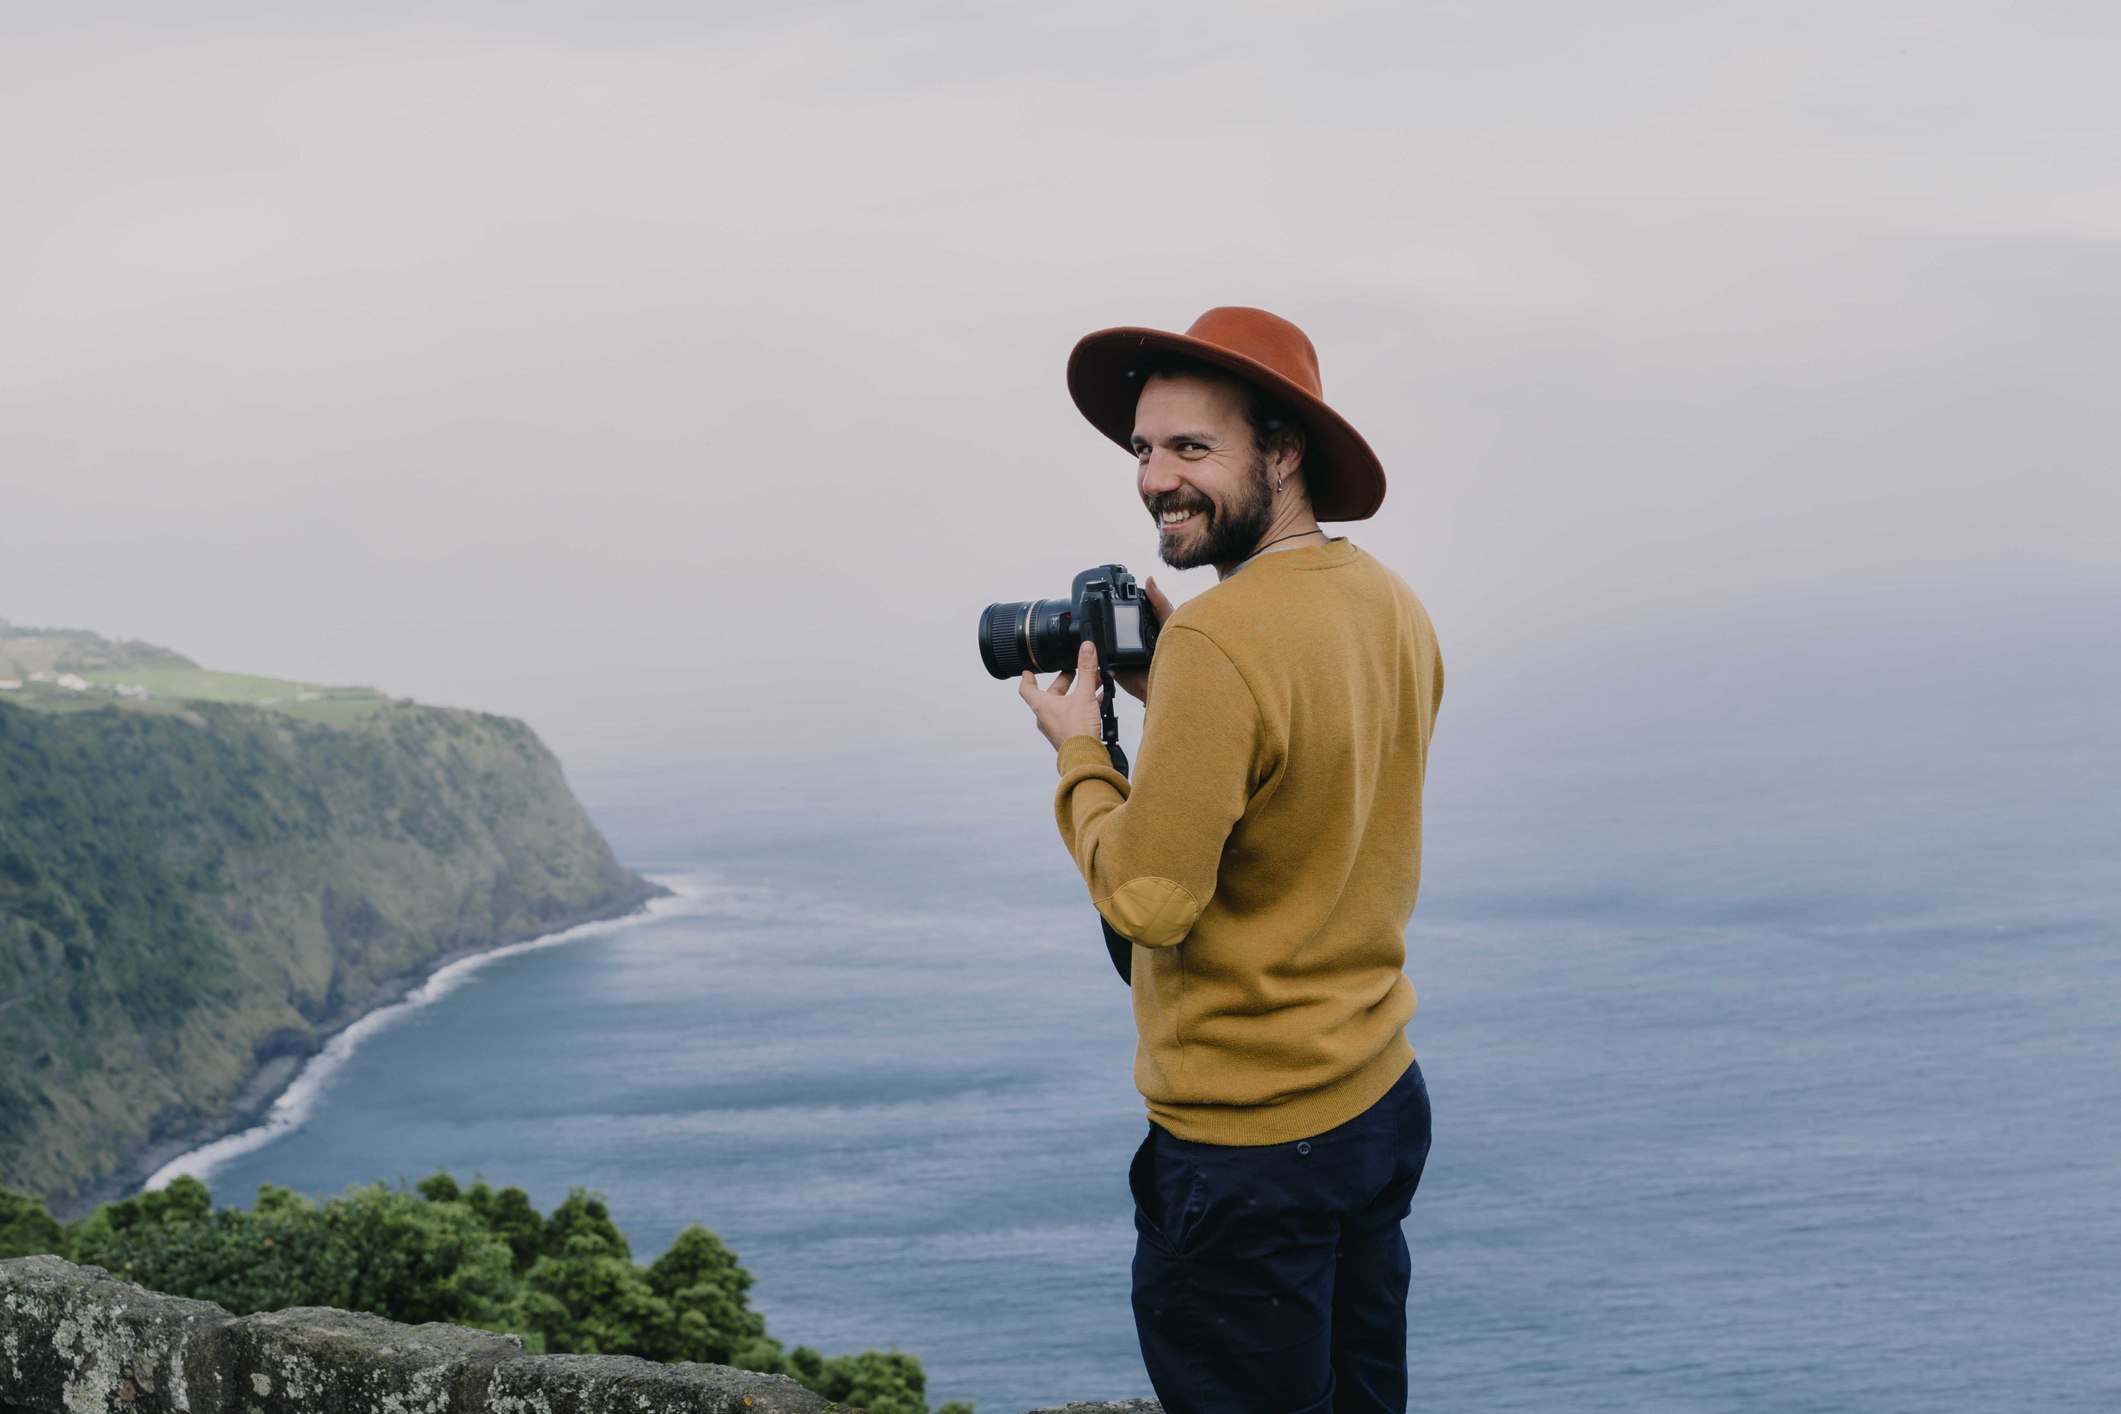
People say the best camera is the one you have on you, and if up until now that has been a smart phone, awesome. But if you've taken the next step and invested in a bigger camera, you've opened yourself up to a new world of photographic options due to bigger sensors, wider lenses, extreme zooms and small apertures. With a basic understanding of a handful of photographic principles, you can take your photography to the next level.
Perfect Exposure, the Exposure Triangle, made up of Aperture, Shutter Speed & ISO...
Aperture
Aperture, often referred to as f-stop, is one of the most important technical elements of photography. In its most basic form, it refers to the size of the hole inside your lens. Aperture controls how much light is let into your camera at any given time. While it may seem counterintuitive, the higher the aperture value (f-stop), the smaller the hole.
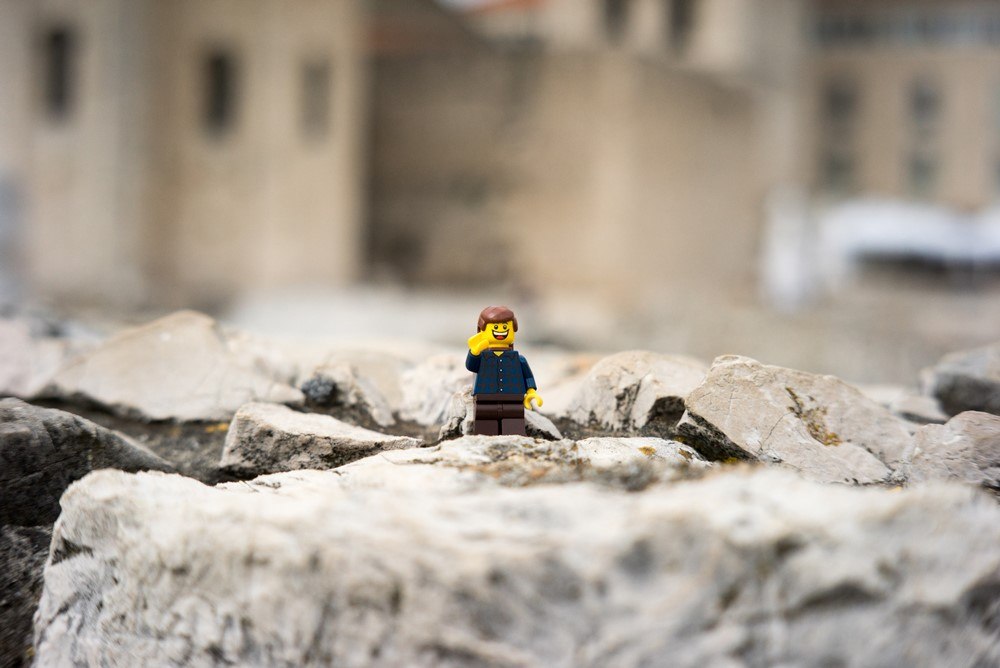
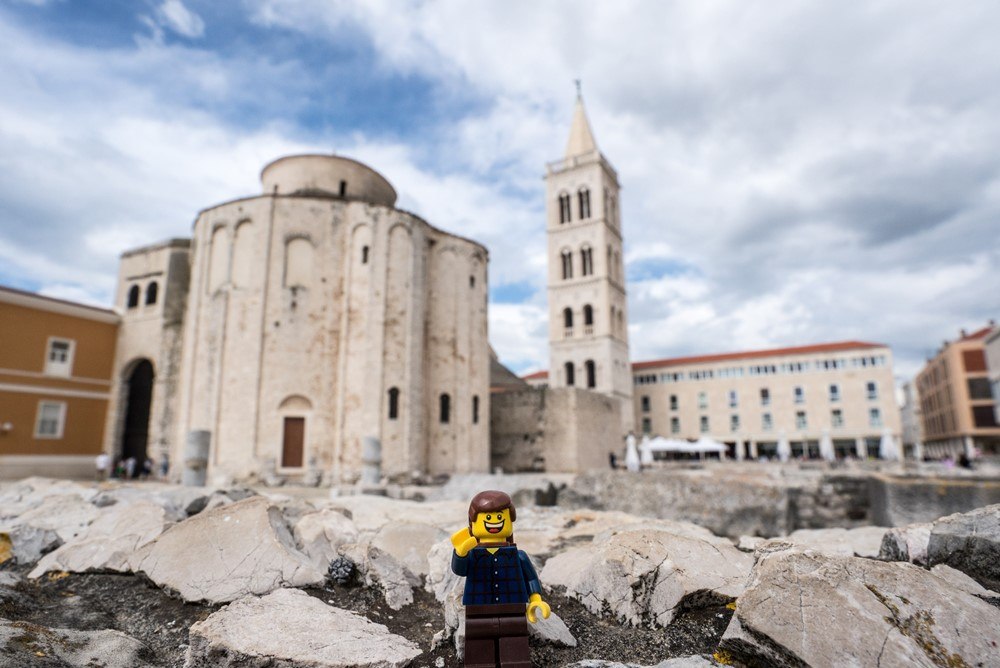
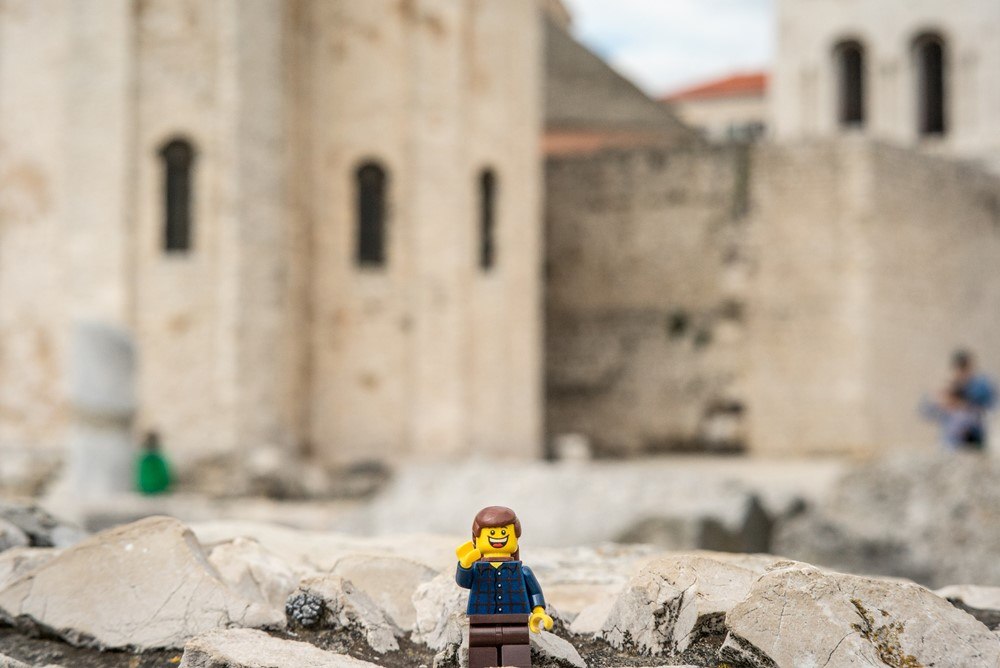
It's also extremely important to understand that the aperture directly affects the depth of field in your photo. Depth of field is the amount of the image that will be in focus. The smaller the aperture value, the shallower the depth of field. For example, taking a photo at f/1.4 will result in a photo with the main object in focus and the entire background out of focus. The higher the aperture value is, the more of the photo will be in focus. If you want to take a photo of your subject in front of the Arc de Triomphe, you best set your aperture value higher in order to capture the entire scene, in focus. On the other hand, if you are looking for an artistic shot of your breakfast, then having a smaller aperture value will have your eggs in sharp and in focus, but the plate and the rest of the background out of focus.
You will find that lenses able to let in more light (small aperture values) are much more expensive. This is because these lenses require greater craftsmanship and materials.
F stop open:

F stop closed:
Shutter Speed
This is fairly self explanatory. The shutter speed is the amount of time your camera's sensor is exposed to the light coming through the lens. This can be anything from a minute (or longer) to 1/8000th of a second! Slow shutter speeds can be used to blur out people during the day time, get beautiful light trails at night, for astronomy photography, light painting, and a whole wide range of other fun photograph ideas (all requiring a tripod!) Faster shutter speeds are best for sports and action photography, wildlife, or anything where the subject is moving quickly.
ISO
ISO is a term that has been carried over from the days of film cameras. In film, ISO refers to how sensitive the silver halide crystals, which make up the film, are.
In the digital age, ISO is simply refers to how the camera processes the light that hits the sensor, and digitally makes the image brighter. This is why you should always try to keep your ISO low. Your camera might be able to reach 12,800 ISO and beyond, but you will not be thrilled with the image quality. It's different for every camera, and with a lot of know how, a high end camera and great editing software, high ISO's are manageable. In daylight, you should have no issues with ISO. However, at nighttime or in a dark room, you will need a higher ISO. For most cameras, it's best not to venture above 3200, as from my experience, most cameras using ISO's over this give a grainy image.
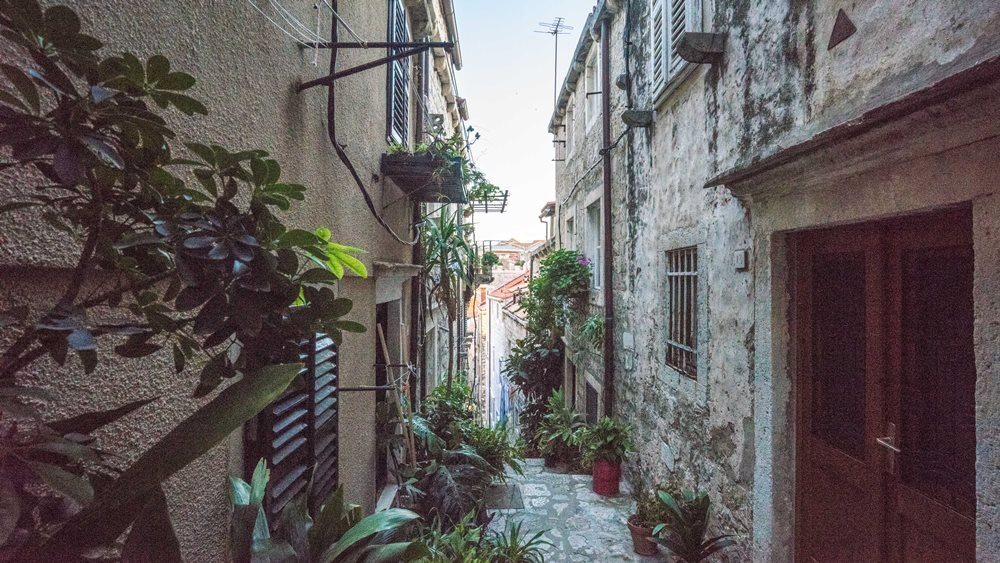
Below you will see the difference between these two images, one at 100 ISO the other at 6400 ISO.
ISO 100:
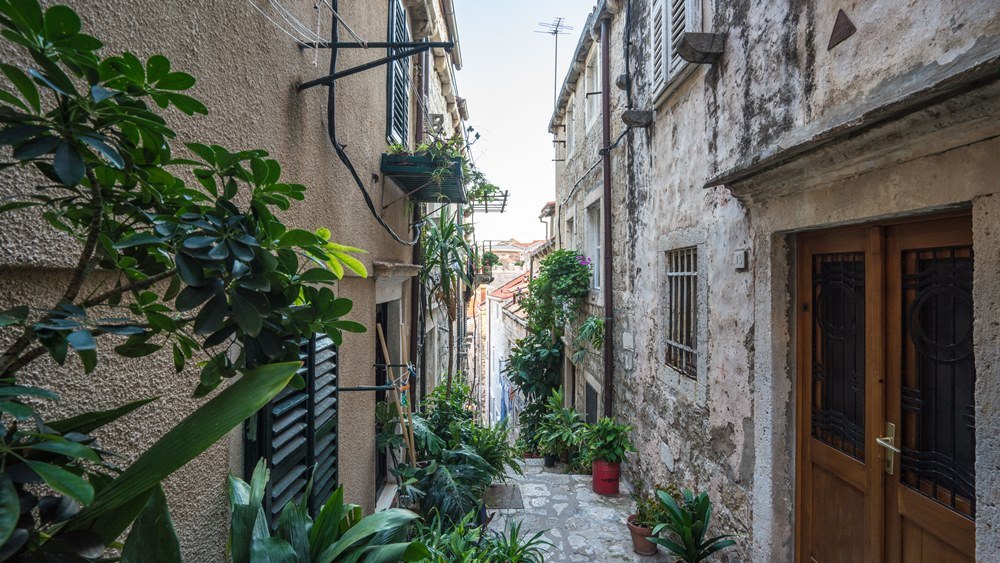
ISO 6400:
Extra things to know:
White balance
White Balance, or as I knew it before I learned about photography, the "why is my image so yellow?" thing.
Different lights emit a color on a spectrum from yellow/red to blue, often referred to as warm and cool, respectively. This is measured in Kelvin's with low numbers representing yellow/red hues and high numbers representing blue hues. Candle light is a warm light source, around 1500 Kelvin, normal household Tungsten Bulbs sit at round 3000K, and florescence 4500K. Your camera will do its best to give you the perfect white balance, but sometimes it just gets confused. In your camera's menu, you will be able to adjust the white balance manually by adjusting the Kelvin number. It can also be adjusted in post if you are shooting in RAW.
Once your camera knows what the light in your image is, it will accurately portray the colors.
Focal Length
Focal length, which is represented in millimeters (mm), refers to the field of view you will be able to capture with your camera lens. The lower the number, the larger your field of view, and vice versa. If you are looking into shooting things like architecture or landscapes, you're going to want a wide lens (lower number) and if you're interested in getting close to your subject, you're going to want a telephoto lens (higher number).
Below you can see a series of photos, where the subject remains the same size, but we are changing the focal length. When we use a wide lens, much more of the background is captured.
Focal length close:
Focal length distance:
RAW vs JPEG
RAW and JPEG are file formats. Whatever you capture with your camera is converted into one of these files. I like to think of it as this... In the days of film cameras, when you had your photos developed, your happy snaps were transformed into prints to show your friends and family. These are the JPEGS - the ready to show and share image files. You will also remember that with your prints, you received your cameras film negatives. These are the RAW files. They are not much to look at, but they hold all the information your camera gathered to create the print.
RAW files are large (about 4-5 times the size of your JPEG). This is because they contain all the information your camera collected when you clicked the trigger. These files are not pretty, they are generally grey and dull. This is because the camera has not processed the image, instead it has captured all the information, waiting for you to bring the photo to life. When shooting JPEGs, the camera takes the image, adds saturation, contrast, sharpness and compresses it into a small, lovely image for you.
JPEGS might sound appealing, however, if you find that your white balance is off, the photo is under exposed, or you want to bring back some details from the shadows or highlights, you will struggle. For a lot of travelers, this doesn't matter. However, if you want the opportunity to process the image yourself, then RAW is an absolute must.
In your camera's settings, you can choose to save either both the RAW & JPEG, or just one or the other.
Don't Use the Full Auto Function
This is more for me. Now that you have this beautiful new camera, try your hardest not to use the green square automatic option. Understand that I am not saying that you should shoot full manual either! Here's a little confession of mine, 90% of the time I don't shoot manual, I use aperture priority. With aperture priority, I set the aperture and ISO, and I let the camera choose the shutter speed.